8 Mar 2023
Forget about having a phone call or paper-based booking. The booking and appointment feature helps to facilitate your merchant to manage customers’ reservations systemically. It allows you to approve or reject the booking via the merchant website and make your customer feel more convenient by let them make their appointment within the application.
How to enable Booking and Appointment feature
- Log in to your account on our merchant website https://merchant.loga.app/ .
- Go to “Card settings” , select “Features” tab.
- Check on the “Booking and appointment” tick box then click “Update card” to save the setting.
- Return to the main page, “Booking” tab will appear.
How to set up Booking and Appointment feature
After enable the feature, you have to set up general setting for booking and create booking slots.
Select “Settings” tab

How to set up booking slot
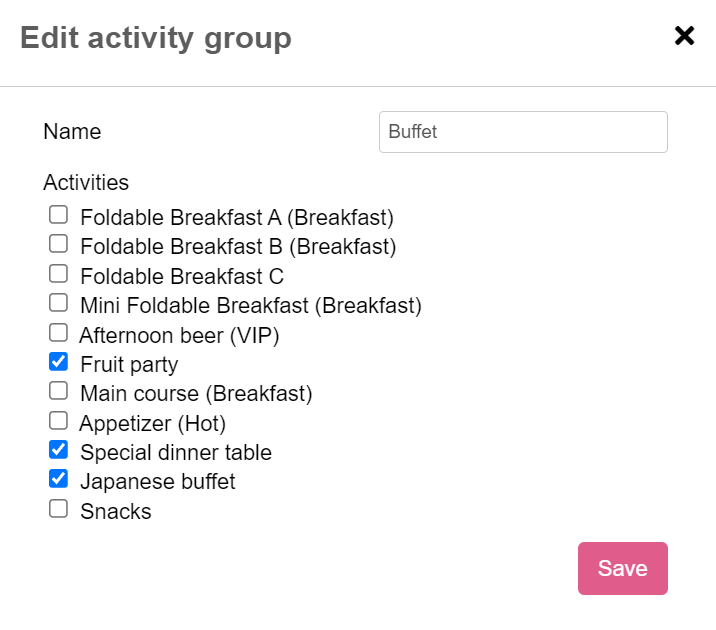
- Create Activity group
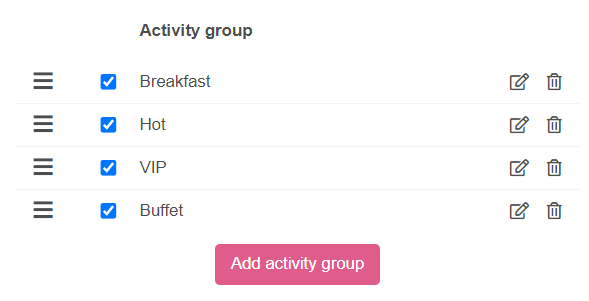
Click Add activity group > Create a new activity group name > Select activities that you want to put in a group (Activity can only assigned to 1 group)
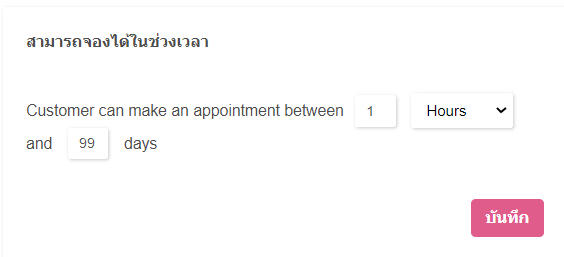
- Set booking period : you can set a number of hours or days that customers are allowed to make their appointments in advance.
- Select an approval method.
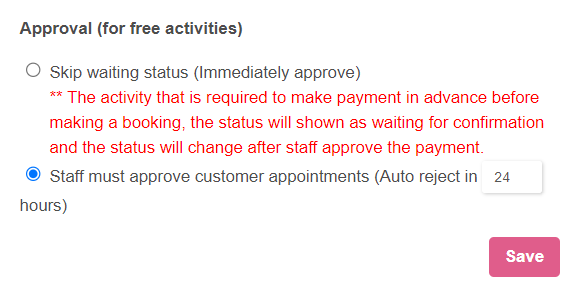
1) Skip waiting status will approve every booking automatically except the activity that is required to make payment in advance before making a booking, the status will shown as waiting for confirmation and the status will change after staff approve the payment.
2) Staff must approve customer appointments. You can set auto reject hours (default is 24 hours)
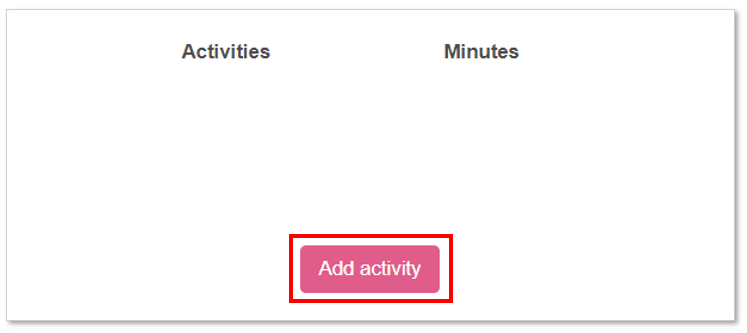
How to create activities list
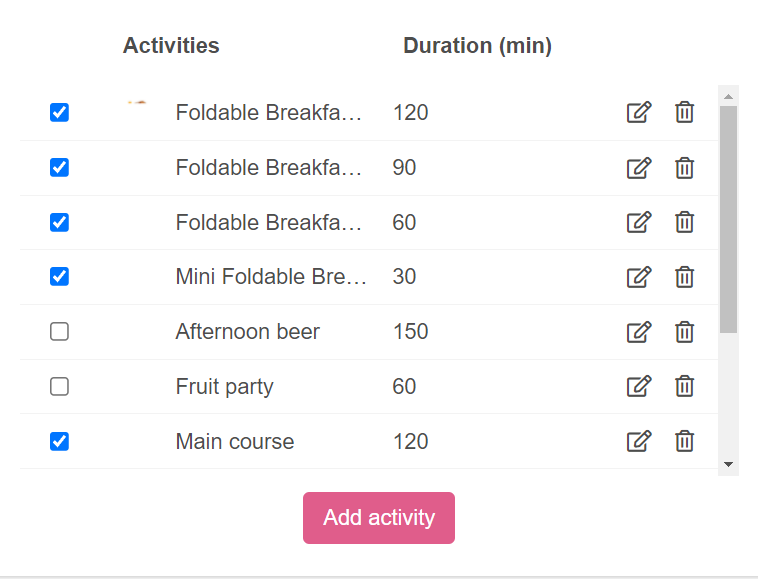
- Click “Add Activity”
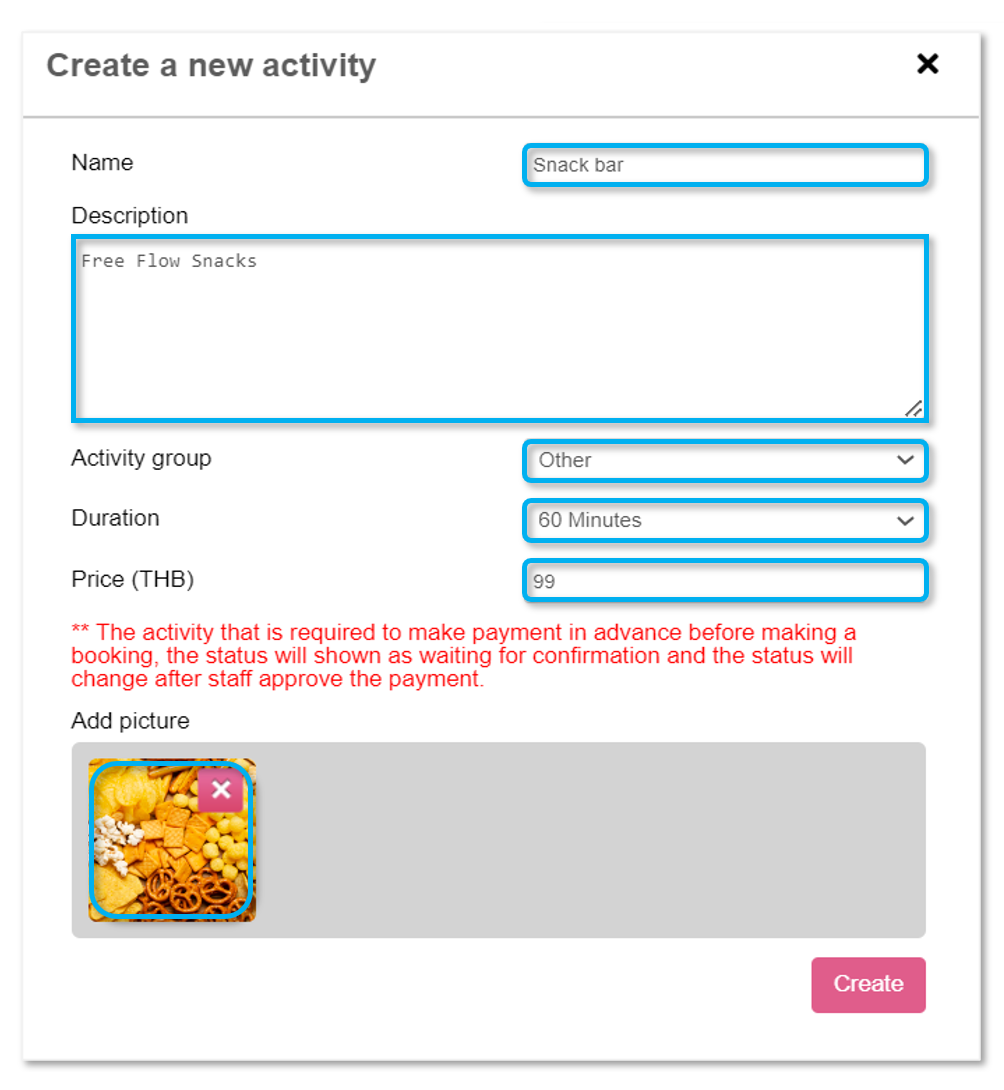
2. Fill activity detail including: name, description, activity group (if any), duration, price (if any) then add a picture. When finished, click “Create”.
Create booking slots
After creating activity lists and finishing your setup, you need to create booking slots so that your customers can be able to view available activities and make their reservations. Customers can only reserve activities that appear in booking slots. Follow these steps to create booking slots:
Select “Booking slots” tab

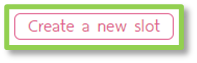
1. Click “Create a new slot” button
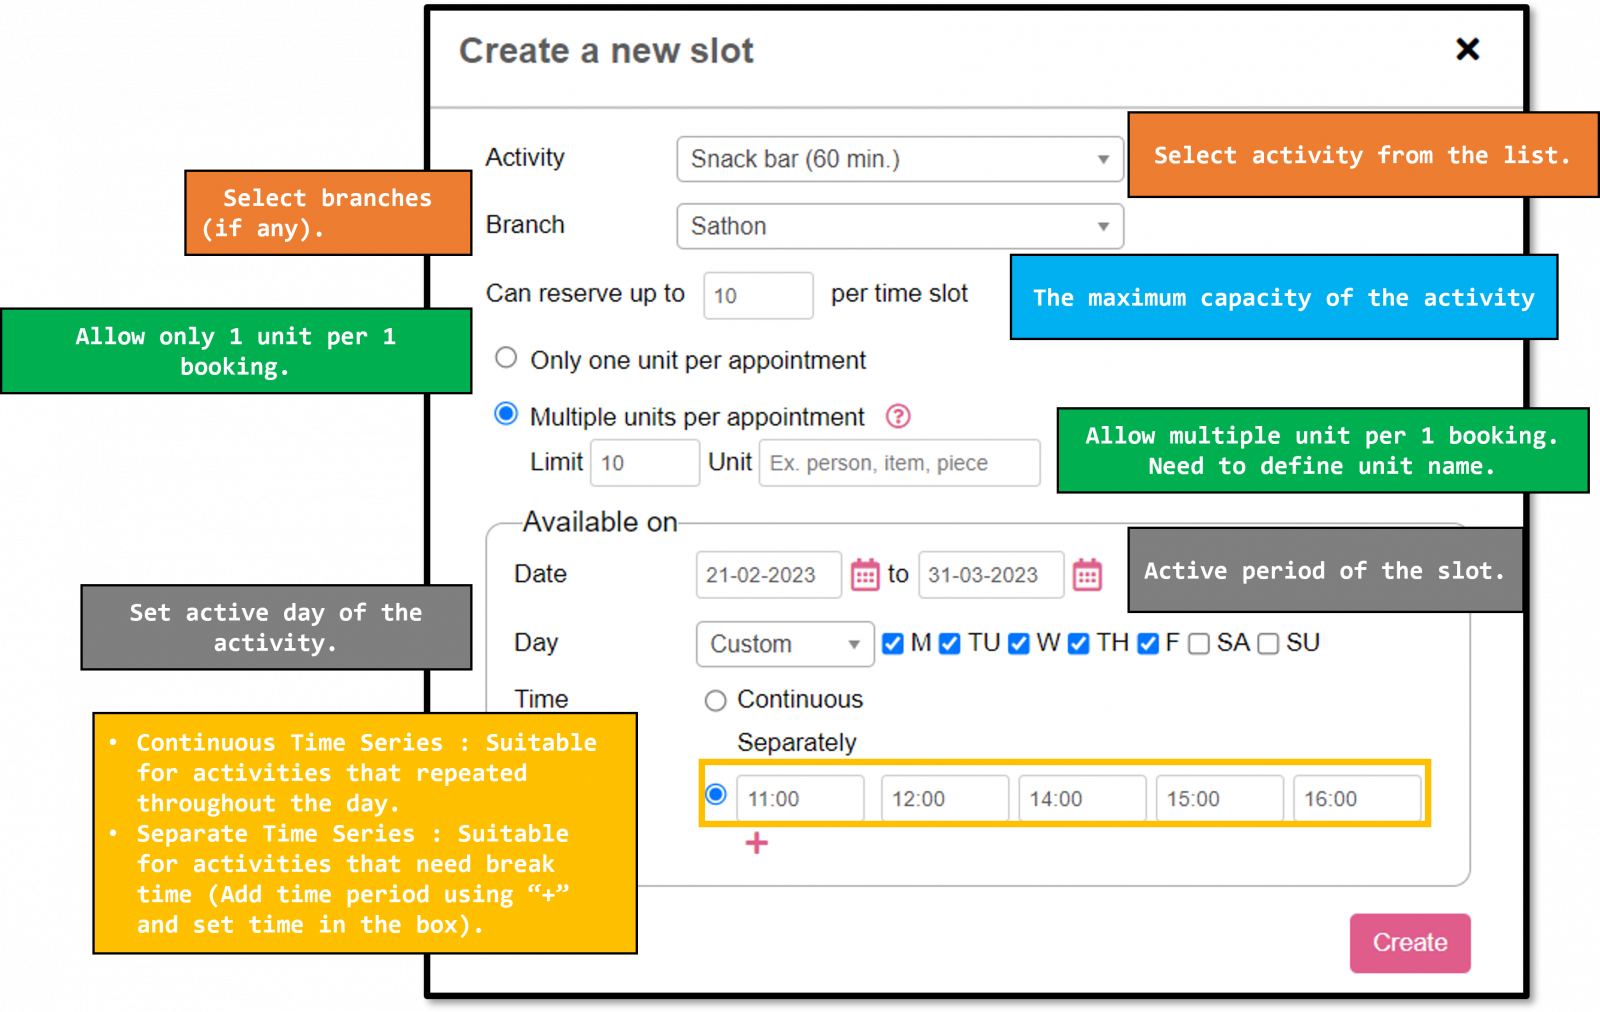
2. Fill booking slot details then click “Create” to create new booking slot.
Details:
– Activity : Select activity from the activities list.
– Branch : Select branches (if any) .
– Reservation : A number of available unit per time slot.
– Only one unit per appointment : Customers can book only 1 unit per 1 appointment.
– Multiple units per appointment : Customers can book more than 1 unit per 1 appointment. (You can set limit of booking and name of a unit for example; person/piece/course) .
Available on
– Date : Start and end date of this activity slot.
– Day : Select day of the week that this activity available for booking.
– Continuous Time Series : Suitable for activities that repeated throughout the day and do not need break time.
– Separate Time Series : Suitable for activities that need break time for example after noon or cleaning break!
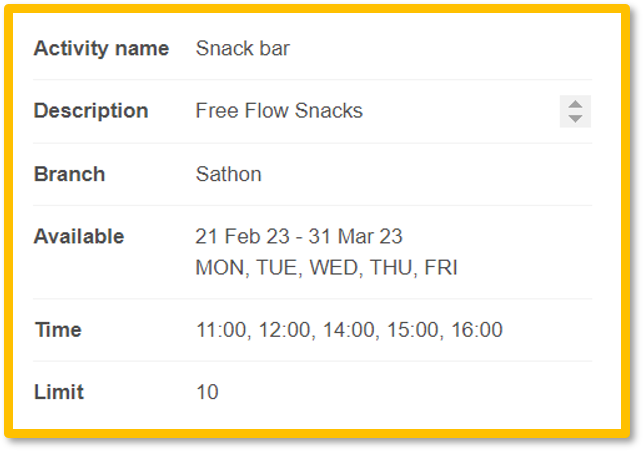
The booking slot will appear when it is successfully created.
How to review appointment and change booking status.
Select “Appointments” tab

In this window , you can see new appointments and can review customer’s request.
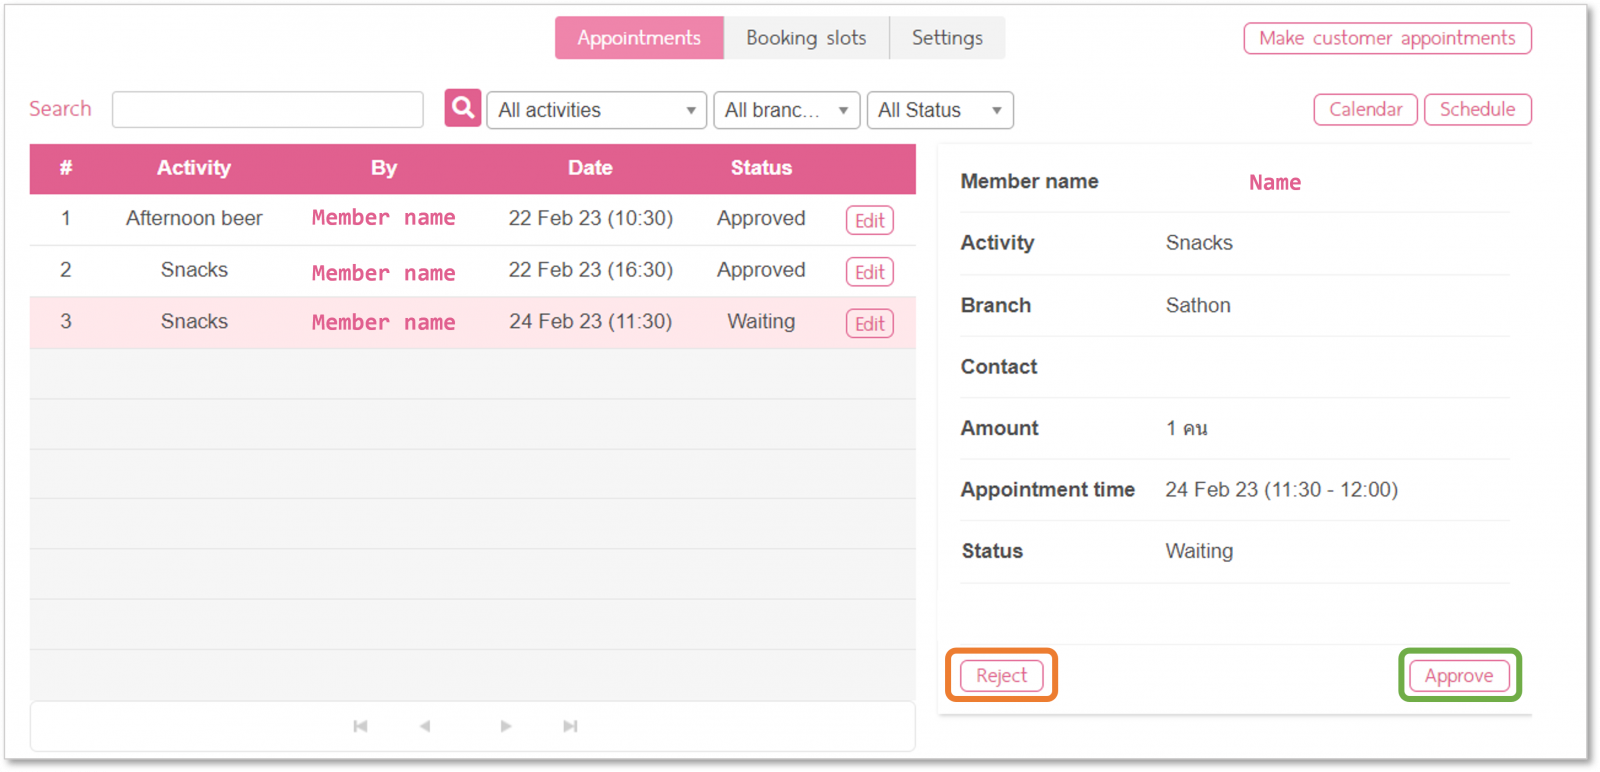
To review customer’s request click on the request and change status to approve or reject using reject/approve button.
To see all appointments history, Select “Past” in status box.
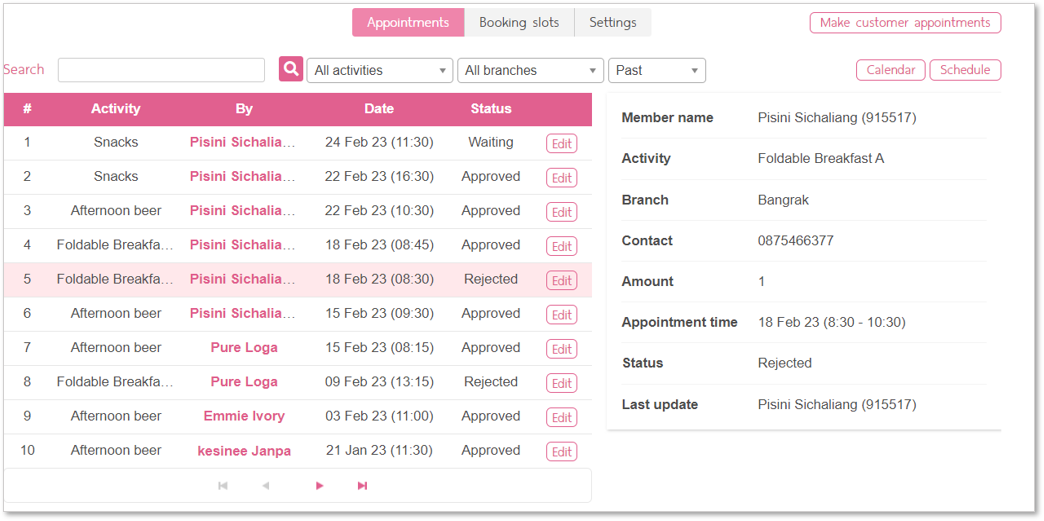
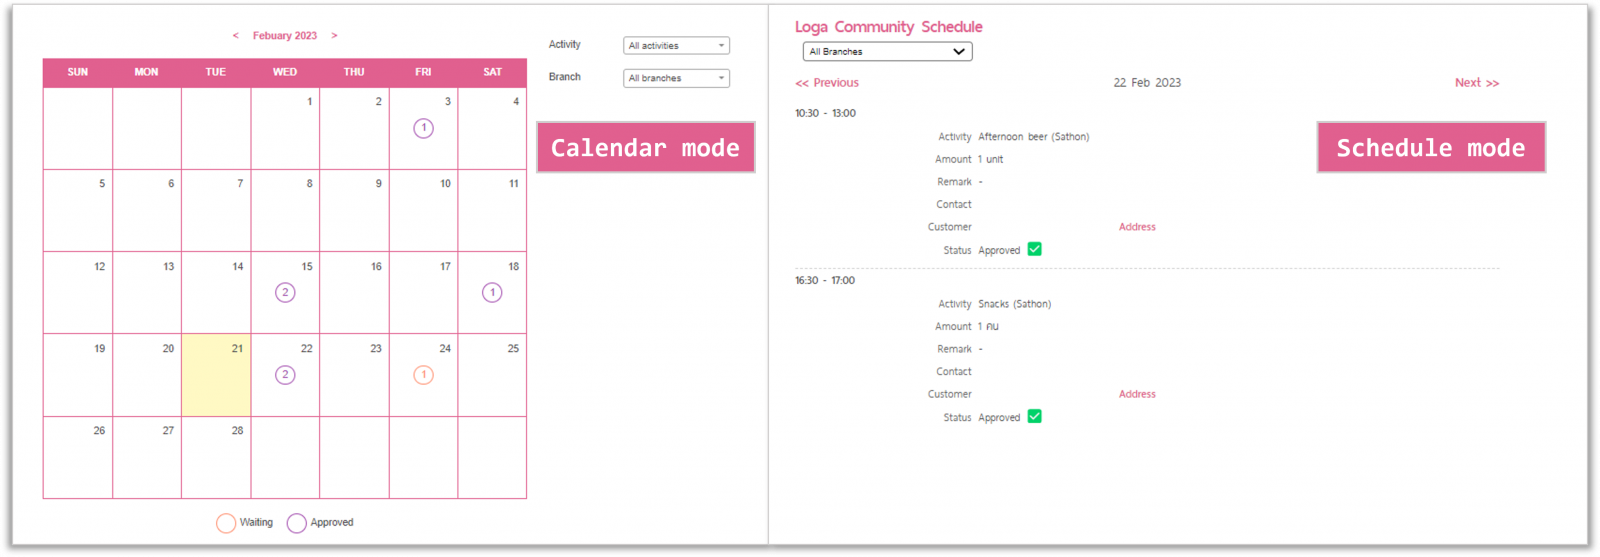
You can search for a member’s history alone or use the activity name or branch filter. The booking’s history can also display in calendar mode or schedule mode.


Post by Webmaster


0 Comments